Importing a Project
Overview
This page describes how to import a project using the Bazel plugin.
You may want to read about the project view format before you import your project.
Import Steps
-
Launch the IDE.
-
Choose Import Bazel project from the Welcome screen.
- First, you need to select an existing workspace root (the directory containing the WORKSPACE file).
-
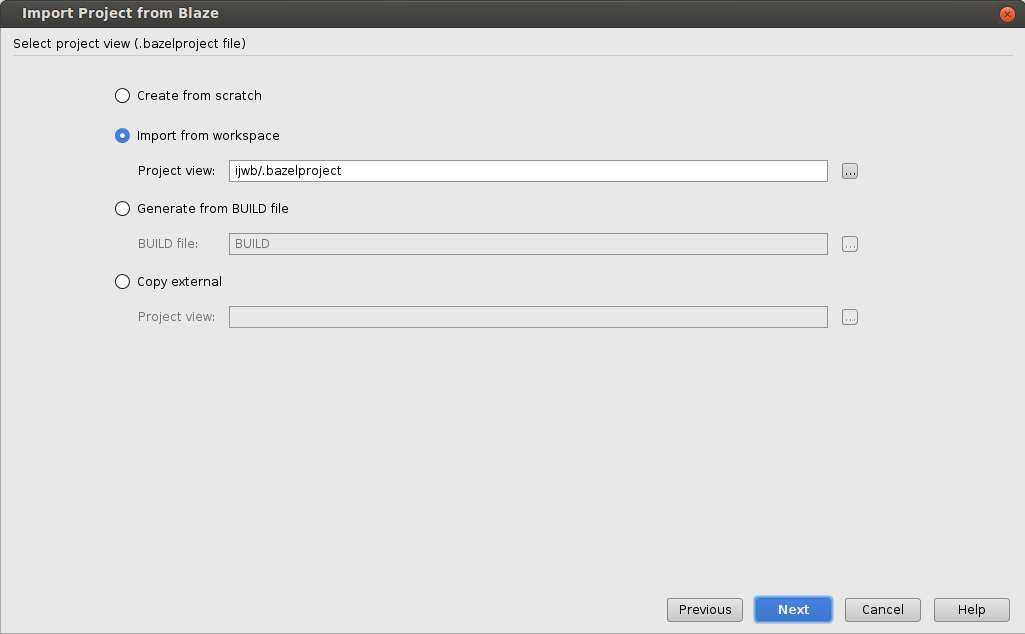
Next, you need to select an initial project view file. You can either start from scratch, use a shared one, or have the plugin synthesize one from a BUILD file. If your project has a shared one this is the easiest option. If you don’t, just create one from scratch or synthesize one from your project’s main BUILD file. Synthesizing works to get started, but you’ll want to tweak it to get more precise imports and better performance.

-
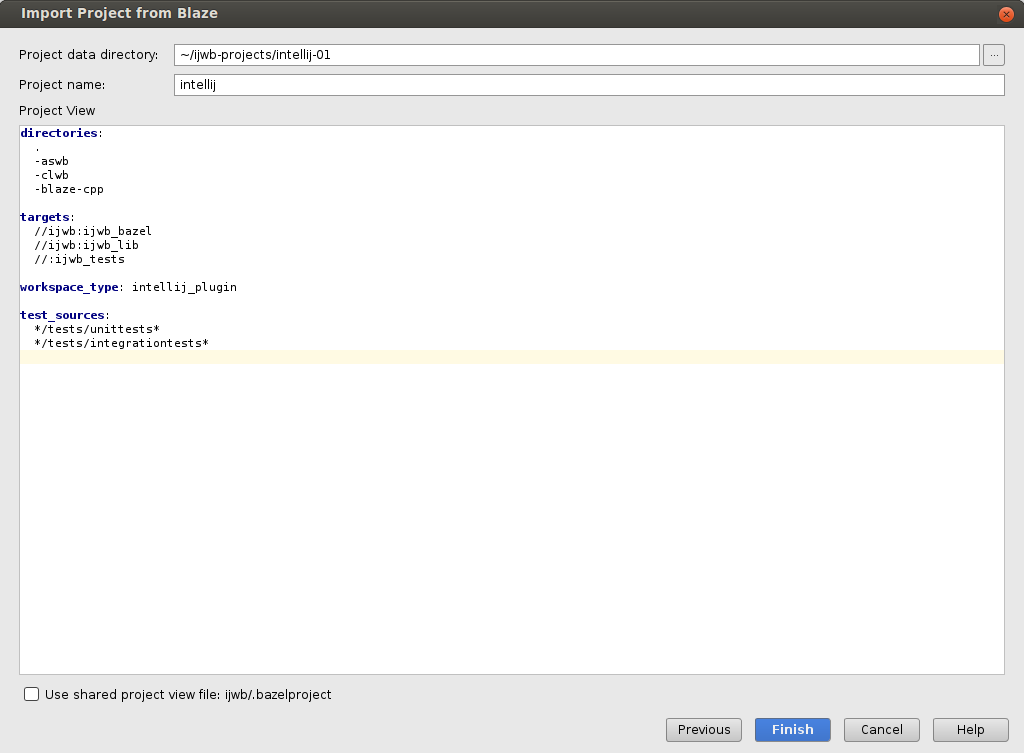
Now you see the project import dialog, which urges you to enter a starting project view (see Project Views).
At the very least, you’ll need
directoriesandtargets. Thedirectoriesshow up as source in the IDE, and we will resolve the code for anything reachable fromtargets. Android Studio projects will additionally requireandroid_sdk_platform.Example:
directories:
  java/com/google/android/apps/myapp
  javatests/com/google/android/apps/myapp

targets:
  //java/com/google/android/apps/myapp:my_dev_target
  //javatests/com/google/android/apps/myapp/...:all
-
If you want the IDE to automatically create a run configuration to launch your app, add an explicit label pointing to the target you want to run (e.g.
//my/package:app_binary). See Run Configurations. -
[Configure][languages] the list of languages you want to edit.
-
Click Finish to import the project into the IDE.
- You can edit the project view file at any time after import by selecting Bazel > Project > Open Project View File. After editing the project view file, run Bazel > Sync > Sync Project to pick up the changes.